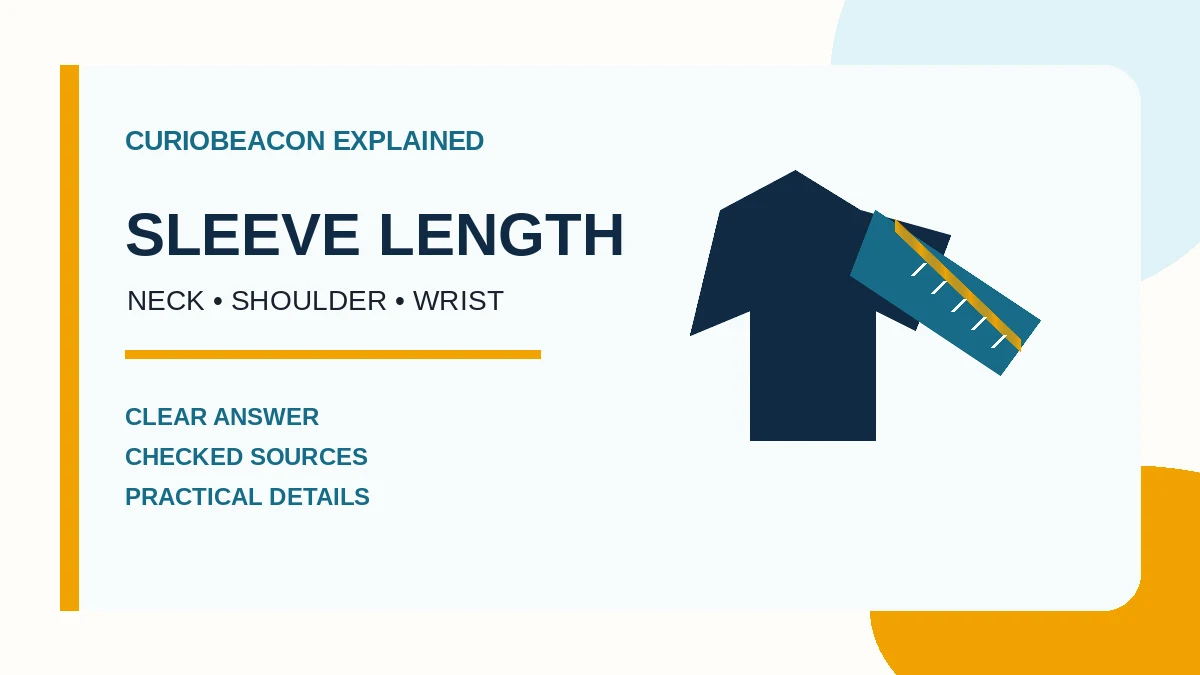
First check the retailer’s size guide, because “sleeve length” can start at different landmarks. For a common body measurement, place a flexible tape at the center back of the neck, pass it over the shoulder and along the outside of a slightly bent arm, and stop at the wrist. Keep the tape flat without pulling it tight, then measure again.
The number is useful only when it matches the method in the product chart. A center-back-to-wrist measurement for a shirt is longer than a shoulder-seam-to-cuff measurement, even when both describe the same arm and garment.
Choose the right sleeve measurement
| Method | Landmarks | Best use |
|---|---|---|
| Body, center back to wrist | Center back neck, over shoulder, outside of bent arm, wrist | Buying from a chart that defines sleeve or arm length this way |
| Dress shirt laid flat | Center back below collar, across yoke, down sleeve, end of cuff | Copying the dimensions of a well-fitting shirt |
| Shoulder seam to cuff | Top of set-in shoulder seam to sleeve end | Garment listings or jacket charts that explicitly request this method |
| Raglan or dropped shoulder | Depends on the brand; often center back neck to cuff | Products without a natural shoulder seam |
Do not convert one method into another by subtracting a “typical” shoulder width. Shoulder shape, yoke width, seam placement, and garment design differ. Measure using the requested landmarks instead.
What you need
- A flexible cloth or fiberglass measuring tape
- A helper, if possible, so your posture stays natural
- The size guide for the exact brand and product
- A place to record both arms, the unit, and the method
Wear a thin, close-fitting layer or measure over the type of layer the brand specifies. Remove bulky items from pockets and relax your shoulders before starting.
How to measure sleeve length on your body
- Stand naturally. Face forward with shoulders level and relaxed. Do not reach toward the tape.
- Bend the arm slightly. L.L.Bean directs the arm to remain relaxed at the side and slightly bent; Patagonia likewise measures with the elbow bent.
- Find the starting point. Place zero at the center back of the neck, where the neck meets the upper back, unless the chart names a different landmark.
- Cross the shoulder. Guide the tape over the shoulder point without pulling it into a straight shortcut through the air.
- Follow the outside of the arm. Continue over the elbow to the wrist endpoint specified by the brand. Keep the tape flat and comfortably in contact with the body.
- Record the result. Write the number, inches or centimeters, and “center back to wrist.” Repeat the measurement, then measure the other arm.
If the two arms differ, retain both readings. For ready-to-wear sizing, consult the seller’s instruction for choosing between them; for made-to-measure clothing, provide both when the maker accepts separate sleeve measurements.
How to measure a shirt that already fits
- Button the shirt front and cuffs, then lay it face down on a flat surface.
- Smooth wrinkles without stretching the fabric and extend one sleeve naturally.
- Start at the center back of the collar, just below the collar band.
- Run the tape to the edge of the yoke seam, hold that point, and pivot the tape down the sleeve.
- Finish at the end of the cuff and record the result as a garment measurement.
This follows Proper Cloth’s dress-shirt method. Use the same fastening, surface, landmarks, and tape path when comparing another shirt. A washed shirt may also reflect shrinkage or stretching, so note whether you are copying its current fit or checking a new product specification.
An example showing why the method matters
Suppose the center-back-neck-to-shoulder segment is 8.5 inches and the shoulder-to-wrist segment is 25.5 inches. The full body sleeve measurement is 34 inches. A shoulder-seam-to-wrist listing might show only 25.5 inches for the same landmarks. Comparing 34 with 25.5 without reading the labels would make a correctly sized sleeve look inconsistent.
Common measuring mistakes
- Keeping the arm rigidly straight. The tape then misses the length needed to follow a bent elbow.
- Using a dropped seam as the natural shoulder point. The garment design, not the body, chose that location.
- Pulling the tape tight. A flexible tape should follow the path without compressing clothing or cutting across curves.
- Mixing body and garment numbers. Label each result before comparing it with a chart.
- Adding your own allowance. Do not add ease or shrinkage unless the seller explicitly tells you to; some custom makers account for it themselves.
- Rounding too early. Record the actual reading first, then follow the chart’s rounding or between-size rule.
How to use the result
Match the measurement to the exact product chart, not to a universal “small,” “medium,” or age-and-height estimate. Confirm whether the chart contains body measurements or finished-garment measurements. Jackets, work shirts, dress shirts, and technical layers may use different endpoints or include different movement allowances. When between sizes, follow that retailer’s advice and consider the intended layers and cuff position.
Important limitations
This method supplies a repeatable length, not a guarantee of fit. Shoulder width, chest, armhole shape, posture, cuff design, and the garment’s ease also affect where a sleeve ends. Raglan, dolman, and dropped-shoulder designs especially require product-specific instructions. If a tailor or uniform supplier gives a different method, use its method for that order.
Related CurioBeacon guides
Once the fit is right, see How to Iron a Shirt?. For another textile guide where the label and material change the correct process, read How to Wash a Wool Blanket?.
Sources
- Sizing Charts and Sleeve-Length Method — L.L.Bean.
- Men’s Size and Fit Guide — Patagonia.
- How to Measure a Dress Shirt — Proper Cloth.
- How to Measure Sleeve Length — The Home Depot.