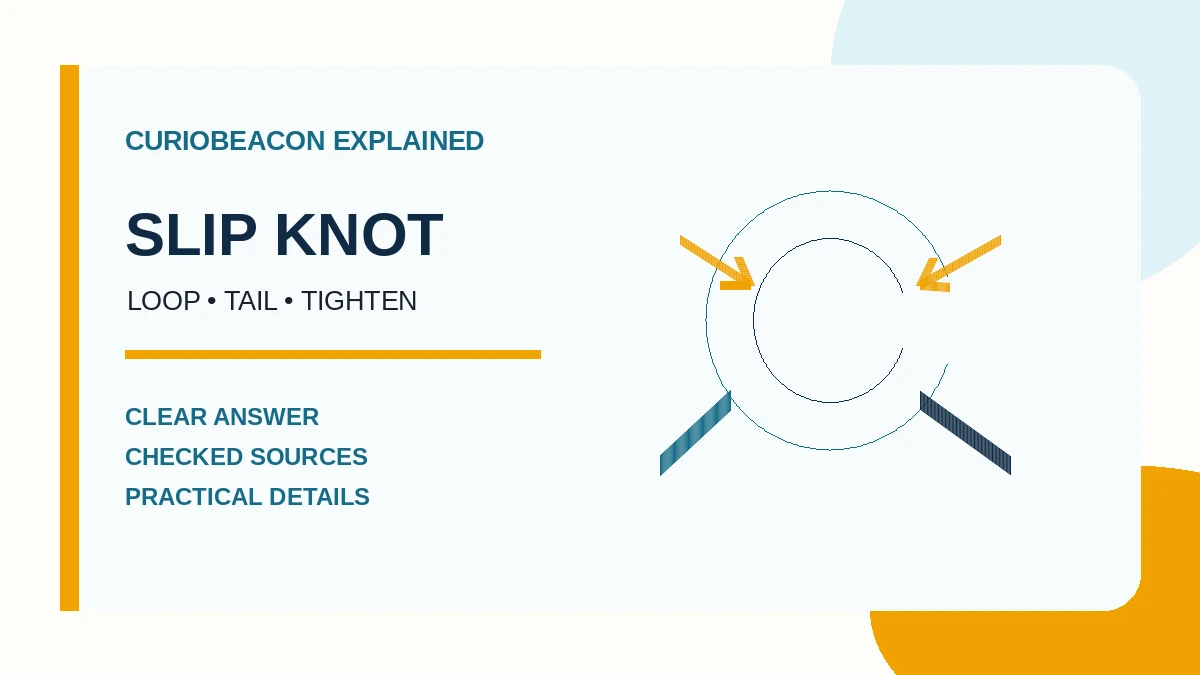
For knitting or crochet, make a loop about 6 inches from the yarn end, reach through it, and pull a bight of the working yarn—the strand connected to the ball—through the loop. Hold the new adjustable loop while gently pulling the yarn ends to seat the knot, then place it on the hook or needle and adjust it without overtightening.
This guide covers only a light-duty yarn craft slip knot. It is not a load-bearing or life-safety knot and must not be used for climbing, rescue, towing, rigging, restraints, swings, or supporting a person, animal, or valuable object.
Know the three parts of the yarn
| Part | Meaning | Why it matters |
|---|---|---|
| Tail | The short free end | Leave enough to weave in later according to the pattern |
| Working yarn | The strand that continues to the ball or skein | This is the strand pulled through to create the adjustable loop |
| Loop | The opening placed on the hook or needle | It should slide smaller or larger without collapsing into a hard knot |
Step-by-step slip knot for yarn crafts
- Leave a tail. Pull about 6 inches of yarn from the ball. A pattern may require a longer tail for a particular cast-on, so check it before cutting or starting.
- Form a circle. Curve the yarn into a loop with the tail crossing over the working yarn.
- Reach through the loop. Insert a crochet hook, knitting needle tip, or two fingers through the circle from front to back.
- Catch the working yarn. Grab a small folded section—a bight—of the strand connected to the ball. Do not pull the loose tail all the way through.
- Pull the bight forward. Draw it through the original circle so a new loop rises from the center.
- Seat the knot gently. Hold the new loop and pull the tail and working yarn until the original circle closes around its base.
- Adjust on the tool. Put the new loop on the hook or needle and pull the working yarn until the loop rests comfortably around it. It should move without falling off.
This is the same basic structure shown by the Craft Yarn Council and Lion Brand: create a loop, use the hook to catch the yarn behind it, pull that yarn through, and tighten gently around the hook.
Test that it is adjustable
Hold the knot base with one hand and pull the working yarn with the other. The loop should shrink smoothly around the hook or needle. Slide the knot along the tool; it should move with light resistance. If the loop does not change size, you may have pulled the tail through completely and made a fixed overhand knot instead.
Do not cinch the loop as tightly as possible. An overtightened starting loop makes the first chain or cast-on difficult to enter and can distort tension. Aim for a loop that matches the diameter of the hook or needle, with enough space for the tool to move freely.
Common problems and quick fixes
| Problem | Likely cause | Fix |
|---|---|---|
| The loop will not slide | The tail, rather than a bight, was pulled all the way through | Undo it and pull a folded section of working yarn through |
| The knot comes apart immediately | The original circle was never seated around the new loop | Hold the new loop and pull both strands gently to form the knot base |
| The starting loop is very tight | The knot was cinched against the tool | Loosen it with the hook tip or remake it with gentler tension |
| The tail is too short | Not enough yarn was left before forming the loop | Remake it with the pattern’s required tail length |
| The first stitches look uneven | The loop is much larger or smaller than the tool | Adjust it to sit around the tool without squeezing it |
How it starts crochet
For standard crochet, place the slip-knot loop on the hook, hold the knot base to steady it, wrap the working yarn over the hook, and draw that yarn through the loop to make the first chain. Lion Brand notes that the slip knot itself does not count as a crochet stitch. Follow the pattern, since a designer may use a ring or another starting method instead.
How it starts knitting
For many knitting cast-ons, the slip knot becomes the first loop on a needle, but whether it counts as a stitch depends on the specific cast-on and pattern. Position the loop so the working yarn runs freely from the needle to the ball. Do not assume that instructions for one cast-on apply to every method.
A slip knot begins the project; it is not the same as a crochet slip stitch, which joins or moves through existing stitches. It is also not a magic ring, an adjustable crochet circle often used for projects worked from the center.
Tail length and yarn limitations
Six inches is a practical starting tail for many crochet demonstrations, and it matches the Craft Yarn Council’s teaching sheet. A long-tail knitting cast-on needs substantially more yarn because the tail forms stitches, so follow that pattern’s estimate. Very slippery, fuzzy, split, or thick yarn may be harder to see and adjust; practice first with smooth, light-colored medium-weight yarn.
When you reach the other end of a knitting project, our guide explains how to cast off knitting. You can find more practical projects under Home & DIY.
Sources
- Slip Knot in Crochet — Craft Yarn Council.
- How to Crochet: Let’s Start at the Beginning — Lion Brand Yarn.
- Learn to Crochet: Making a Slip Knot — Crochet.com.